How To Use Photoshop Techniques To Create A Classic Portrait
- Apr 11, 2015
- 3 min read
In this tutorial I will be showing you how to create a rose woman effect by using blending and coloring techniques. These are techniques that will serve you well if you are an avid Photoshop user. Once you master them, you will be able to create variations of this portrait! Let’s get a move on!
Software: Photoshop CS6
Time: 30-45 min.
Level: Advanced
Images Needed;

Stock Photo – Beauty fashion portrait of woman with gloves. Image ID: 20956695
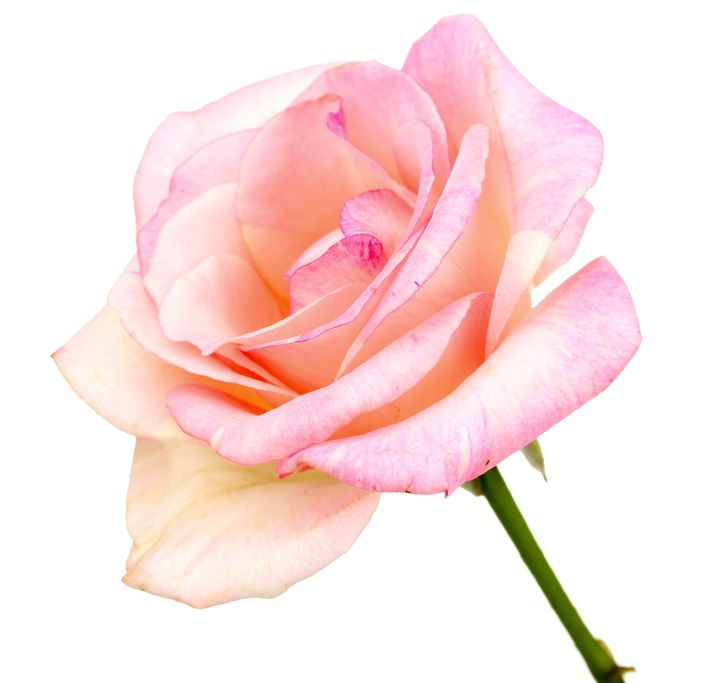
Stock Photo – Pink rose isolated on white background. Image ID: 10751837

Stock Photo – Pink rose petals scattered on white background. Image ID: 10965619

Stock Photo – Single pink rose stem on white background. Image ID: 11145475

Stock Photo – Single pink rose on white background. Image ID: 10688405
Step One
First, using your preferred extraction method, remove the rose from it’s background and place it on the side of the woman’s face.
Add a layer mask to the rose layer, and with a soft, round, black brush mask out the parts of the rose that are touching the woman’s skin. Setting your brush’s flow to 30% will help you make the transition smooth. What parts of the rose your erase will depend on you. Just do what looks best.
Step Two
Now we are going to clip 4 different adjustment layers to the rose layer.
The first is a Gradient adjustment layer, set to black and white, with a layer opacity of 31%.
The second is a Brightness and Contrast adjustment layer set to -45 Brightness and 36 Contrast. With a large, soft, black bright I masked out some of layer to keep the middle of the rose bright.
The third layer is another Brightness and Contrast Layer set to -35 Brightness and 100 Contrast.
And the final layer is a Hue/Saturation layer. Make sure “Colorize” is checked, and set the Hue to 27 and the Saturation to 60.
Group all the layers together and name it “Rose”.
Step Three
Now we are going to create multiple other roses using the one we just made as a base. We will be making changes to the rose though as we need to make sure it does not look copy pasted/repetitive. You always want to avoid that.
Duplicate the rose group you just made, shrink it down and delete the layer mask on the rose image (which I will now refer to as “small rose”).

Add a new layer mask and using a soft, round black brush mask out part of the rose so that it blends into the skin. Here is what mine looks like:
We want to make it look like the petals are growing from her skin. In order to do this, duplicate your small rose layer and delete it’s layer mask. Move the duplicated small rose below the original small rose. Go to Image > Filter > Hue/Saturation and bring the Saturation down to -100. Set the layer style to “Soft Light”.
Add a layer mask to the duplicated small rose and mask out the edges just like you did the first two times.
Mixing layer modes like this is a great way to blend and create subtle transitions. Once you are done rename the group, which was originally “Rose Big Copy”, to “Small Rose One”.
We are going to do this one more time, so again duplicate the original big rose and shrink it down. I also rotated it.
Blend out the edges of the rose. I did not use a soft light layer here, like we did the last one. Simply experiment and get the best result you can. Don’t forget to mask out the rose so the finger shows.
Rename the group “Small Rose Two”
To finish up the roses, we are going to duplicate the big rose image (not the group) and delete it’s layer mask. Bring it below all the rose groups, shrink it slightly, place it to the side of Small Rose One and make it black and white.
Set the layer mode to “Soft light” and blend out the edges using a layer mask. The effect should be very subtle.
Group ALL the rose layers together and name that group “Roses”.
Step 4
To tie in the theme we are going to have the woman holding a rose. Extract the rose from its background and position it accordingly.

Add a layer mask to the Rose Stem image and mask out the fingers so it looks like the woman is holding the rose.
Clip a new layer into the rose stem and set it to “Multiply”. With a dark green (#0f1103) paint in shadows. Make them as accurate and as natural as you can. It’s best to paint them in with a layer brush flow of around 10%-20%. Name the layer “shading”.
Above your shading layer, clip a new layer and set it to “Soft Light”. Paint white where light would be hitting. Name the layer “Lighting”. Here is what mine looks like set to “Normal” so you know where I painted:
And when I set it to “Soft Light”:
Above your lighting layer create and clip a Brightness and Contrast adjustment layer and set it to Brightness -21 and Contrast 60.
Above that, clip a Hugh/Saturation adjustment layer and make sure “Colorize” it checked. Set to Hue to 31 and the Saturation to 60. Select its layer mask and fill it with all black.
Using a white brush, paint only on the flower part, not the steam part, so that the flower here matches the color of the flowers on the woman’s face.
Create a new layer under the rose stem image and set it to “Multiply”. Using a semi soft, round, green (#4a3800) brush paint in shadows. Again try and make them natural and accurate. Shadows are not just blobs of random black.
Group all those layers together and name it “Rose Stem”.
Step 5
Extract a few different petals, and go to Image > Adjustments > Hue/Saturation and make sure “Colorize” is checked. Set it to Hue 31, and Saturation 60. Place them around your image.
As I placed one on the shoulder, I also added a shadow to it.
Step 6
Now we are going to add some final lighting to the rose on the woman’s face.
Above your “Roses group”, which should be holding all all the layers of the roses on your model’s face, create a new layer and set it to “Soft Light”. Now, using the lighting on the models face as a guide, paint white where light would be hitting and black where it would be darker.
Here is what mine looks like set to “Normal” so you can see where I painted.
And set to “Soft light”:
Step 7
Finally we are going to do some color correcting using adjustment layers. On top of all your other layers, first create a Curves adjustment layer and set it to what you see below:

Next, create a Brightness and Contrast layer and set it to Brightness -5 and Contrast 25.
Finally, create a Color Lookup layer and set to “Sienna-Blue” which is in “Abstract”. Set the layer opacity to 49%.
You can also add a black and white effect by creating a black and white Gradient layer below the adjustment layers you just created. This is the result:
And you’re done!


Comments